|
Creating a Pay Calculation
|
Previous Top Next |

| · | The date paid - is the date that the employee is paid and this is the date the pay will be processed in their record and the date the desk banking will pick up.
|
| · | The period ending date, is the date your pay week actually ended.
|
| · | If you wish to send a message to all your staff you can put that in the 'Pay slip Message' box.
|
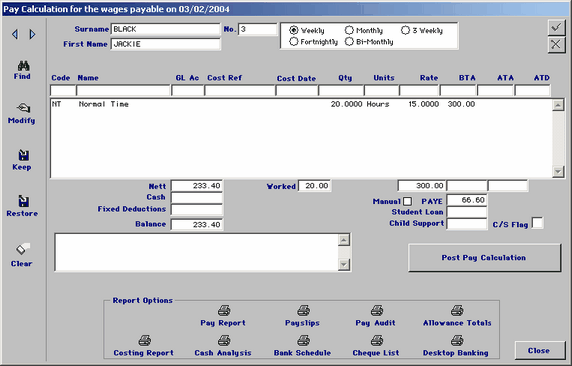
| · | Click on the green tick when you have completed the information and the following screen will appear.
|

| · | You can select the staff you wish to pay by clicking on find and entering their surname or by clicking on the blue arrows
|
| · | Click on modify and enter the code and push enter to move through the rest of the line the hours-worked go in the Qty box. Once you have got to the end of the line the cursor will appear back in the code box. Click on the green tick to save this persons changes. Continue the above until you have paid all of your staff.
|
| · | You can now print out the reports you require for this pay week and the pay slips for your staff. If you pay by desktop banking you need to create this file now as well
|
| · | Once you have printed all your reports and pay slips and you are happy that your pay is correct then you click on the 'Post Pay Calculation' button the following screen will appear.
|

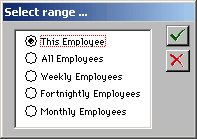
| · | Select range and click on the green tick - the following screen will appear
|
| · | You will be now asked 'Are you sure' you then click on yes or no
|
| · | Once you have clicked on yes the pay will be posted to the employees pay records found in the employees record screenen
|